Enchanted Realms Rulebook
User Interface
As stated in the Introduction, this version is no longer a table top version and that digital technology is used to enhance gameplay. Further, the VTT of choice is Roll20. There is a custom character sheet and an API to use to being able to play. However, a significant amount of effort (along with a promise of future effort) to simplify the UI as much as possible.
As the previous section was about equipment, this will be a good topic of how to put those items into one’s character sheet. It is this designer’s hope that the technique truly wows the reader.
Items
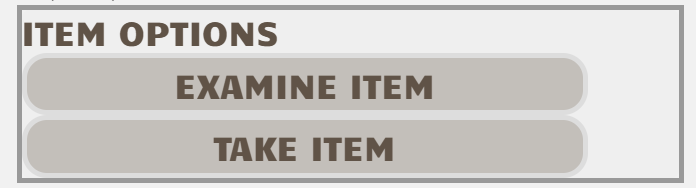
How does that work? This is all part of the simplification design in the UI of Roll20. There is an assumption that the reader is familiar with Roll20; however, if not, when clicking on one’s character token, a context menu will appear. Again, this has been greatly simplified. As part of this more concise UI and with the hope of reducing mouse-clicks, the menu items are basically groupings for specific interactions. The following options will appear: .

In this case, the player would click on , and when doing so, there will be output in the chat area as a response from the API. A comment about dynamically created buttons via API -- they're ugly. Because of this, it is recommended that the players install a browser extension called Stylus which allows a bit of dynamic CSS to pretty things up a bit. (More on this later).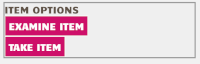
As stated above, this context-click renders two new buttons in the chat, allowing the character to either examine or take an item. An examination is a quick view of the item without “touching” it -- at least from the interface perspective. The game ruling would have to be declared by the GM. The other option takes the item and puts it in the character’s on person inventory. Once on the character sheet, there are new options for interacting with the new object.
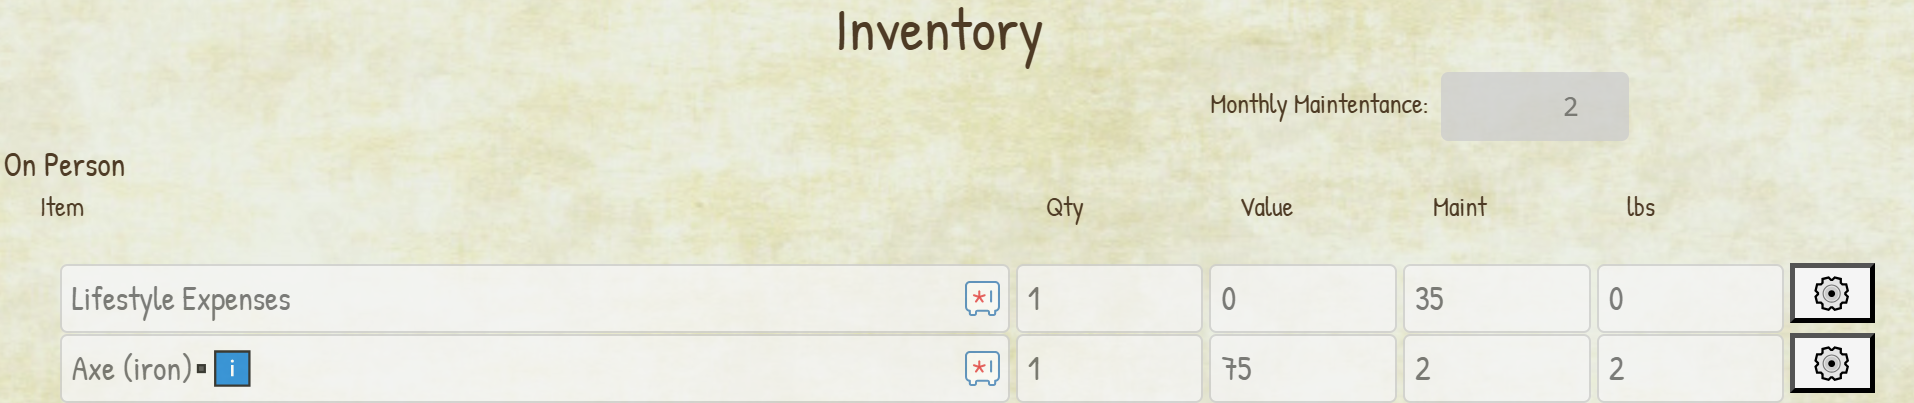
Any inventory item with the ▪️ℹ️ suffix will work with the gear ⚙️ icon at the right end of the row for that item. Clicking that button will produce more chatbox options using those big ugly pink buttons. From here, a character can relocate the item to the mount, pack or wagon. The item could just be dropped to the ground or given to another character. Like before, it can be examined again. Also, the item can be equipped. In the case of this example, the object is an axe, which means it could be placed in either the primary or off hand. And the API is “smart enough” to manage that. Once sending it to be equipped, the weapon will appear in the “paperdoll” interface on the character sheet. Moreover, all the properties that are hidden in that object will be known for attacks using it in the future. This does mean the player will have to pay attention to what weapon, armor, etc is equipped. If that axe is still equipped, there will be no shooting arrows.
Combat Rounds
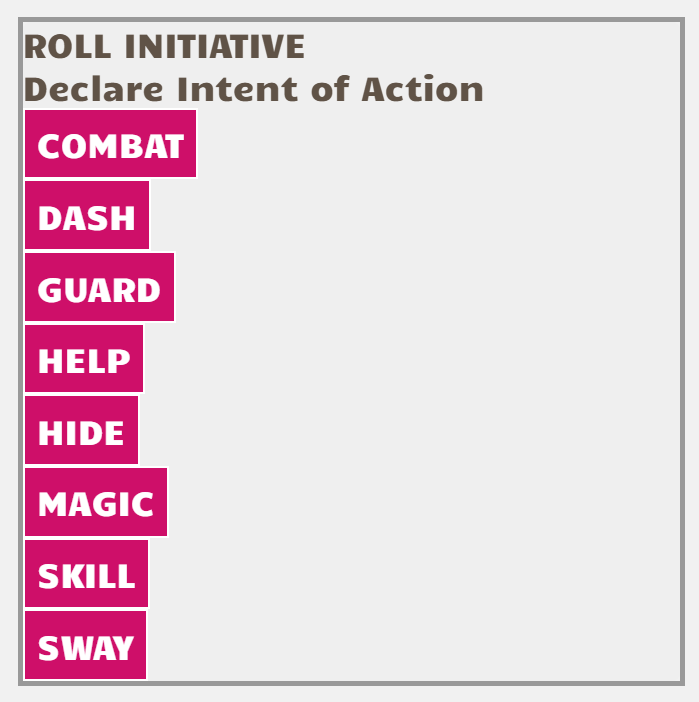
When starting a combat or beginning a new round, the Roll20 UI works quite similar to the explained above. For managing a new round, every combatant must choose the context button that appears when clicking on the character token. This will set the d12 order of turns.
Again, the character sheets and API work together to read the weapon speed of the equipped primary hand or if knuckledusters are in the glove position. Between that and the Agility score, the initiative score will be adjusted without the player needing to worry about any math.
Some initiative declarations are actions for the round, and as such no initiative score will be placed in the turn order. A perfect example is the dash action. As you may recall, the dash option is where the player forgoes the character’s action for the round in trade of moving at twice the rate.
This is a good place to bring up the movement system. Several of those declarations for initiative will be followed up by the movement menu in the chat area. Some actions will require movement be set; others it may merely be something to be considered.
Movement
It was discussed in the Basic Mechanics section how movement in a turn-based combat is always a little awkward and often unbalanced. With the declaration of intent and setting the targets for movement at the start of each round, the API can move character tokens the appropriate distance in the “motion task” as each second-counter of the round ticks down.
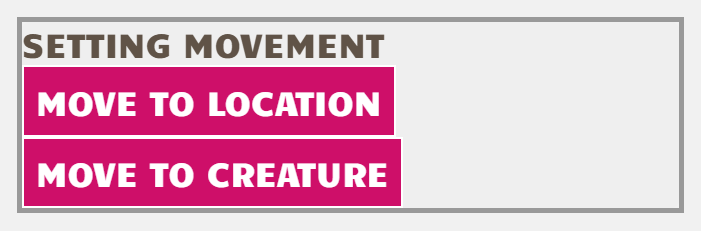
The two options for movement are either move to a location or to close-in towards a creature. Thus, the movement goal is either a static endpoint or the movement will dynamically adjust based on the new location of the target.
The “To Creature” option sounds more complicated, but from the player perspective, it is very easy: choose that option, then click the target; the API handles the rest. Ironically, the “To Location” choice that requires more human interaction. Sometimes the map is not fully visible or perhaps there are obstacles. This is why the movement supports way points to be set along the path.
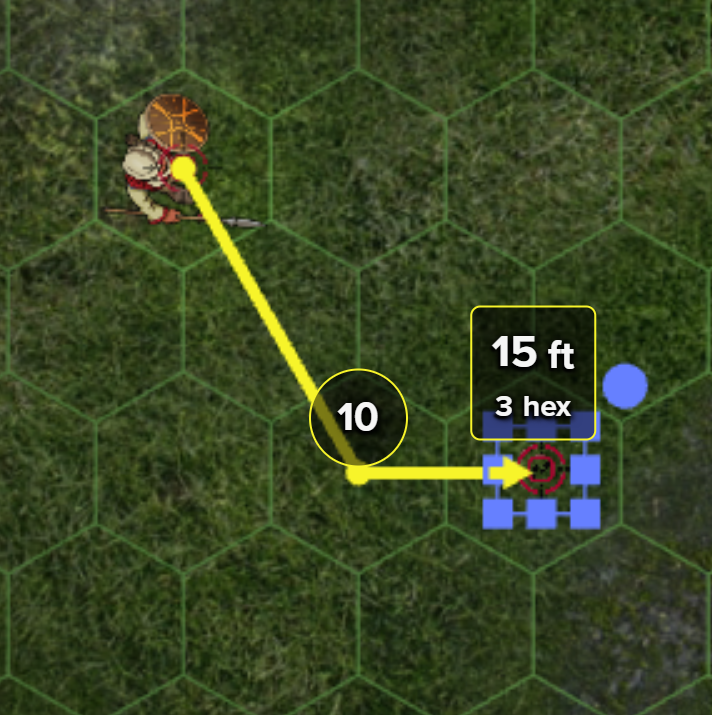
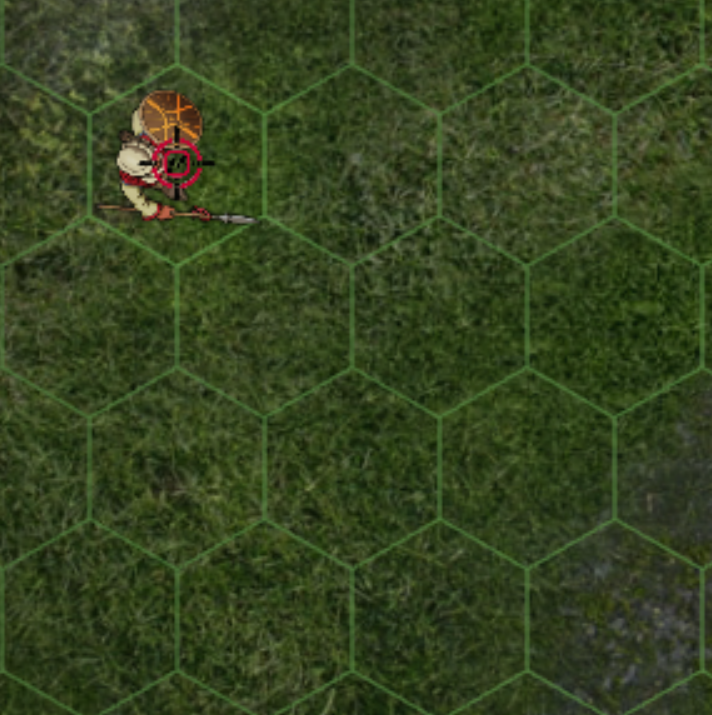
When choosing the “To Location” option, a small target icon will appear over the top of the token. Only the player and the GM will have control to move it. Dragging it to a new location will set the character token’s endpoint location goal for movement. Of course, way points may be helpful. By dragging it and keeping the left-mouse button held down the entire time, a right-click will set a way point. Another way point can be set along the path as well. However, whenever lifting up the left-mouse button, the final endpoint will be defined.
Of course, movement can be stopped or changed at any time during the round. If that target creature is running away, the player can choose that context button and redefine a new target or location.
Stylus
As mentioned before, there is a browser extension called Stylus. It is highly recommended to add this, then import the style codes from here into the Stylus editor. This will improve the appearance of several features in Roll20.
The image on the left is the orignal CSS of Roll20. The one on the right is after using Stylus.